Master Crispy Roasted Cauliflower: Easy Steps & Expert Tips
Forget everything you thought you knew about cauliflower. If your experience has been limited to bland, boiled florets, prepare for a culinary revelation. When subjected to the heat of the oven, this humble cruciferous vegetable undergoes a magical transformation, emerging as a gloriously golden, irresistibly crispy, and surprisingly sweet delight. Roasted cauliflower isn't just a side dish; it's a versatile, flavorful star capable of elevating any meal, and once you master the art of achieving that perfect crispy edge, you might just find yourself eating it straight off the pan, much like French fries!
The beauty of cauliflower lies in its inherent neutrality – it's truly a blank canvas. While steaming or blanching keeps its essential flavors intact, it's the high heat of roasting or sautéing that unlocks a hidden sweetness and nutty depth. Like eggplant, cauliflower readily absorbs oils and seasonings, soaking up every nuance of flavor you throw its way, yet it retains a satisfyingly firm texture, providing a delightful contrast to its tender interior. This article will guide you through the simple steps and expert tips needed to achieve Roasted Cauliflower: Unlock Sweetness & Golden Perfection every single time.
The Culinary Alchemy: Why Roasting Transforms Cauliflower
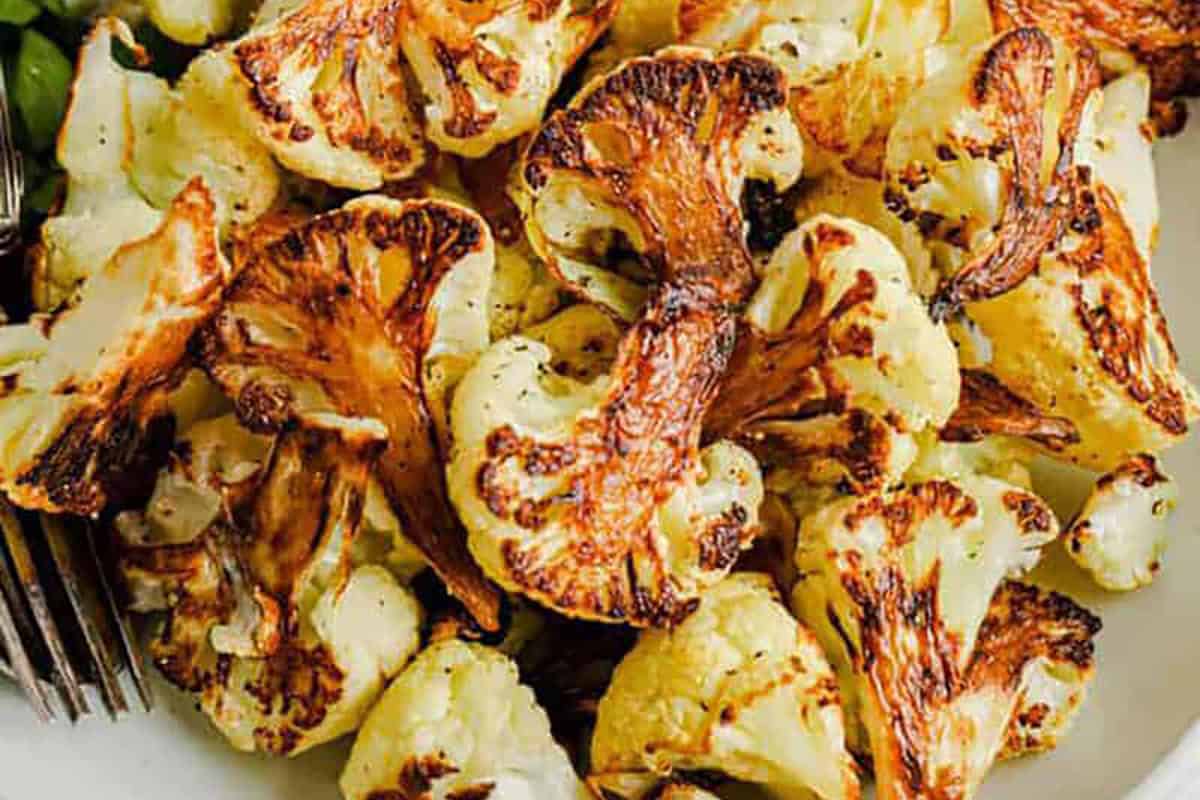
Many vegetables shine brightest when roasted, but cauliflower experiences a particularly dramatic metamorphosis. Raw cauliflower, with its somewhat bitter notes and firm crunch, can be polarizing. However, introduce it to a hot oven, and something incredible happens. The sugars within the florets begin to caramelize, creating a beautiful golden-brown exterior that is crisp and slightly charred in places, while the inside becomes tender and sweet. This Maillard reaction is key to developing its complex, addictive flavor profile.
Beyond its incredible taste transformation, roasted cauliflower is incredibly adaptable. It can be served warm, straight from the oven, or at room temperature, making it a fantastic make-ahead option. Imagine it as a delightful component of an antipasto platter featuring other roasted vegetables, or as a sophisticated accompaniment to a succulent roast chicken or tender lamb. Surprisingly, its sweet and nutty notes also pair exceptionally well with naturally sweet seafood like scallops and lobster, creating an unexpectedly harmonious duo that will impress even the most discerning palates. Its robust yet adaptable flavor also makes it an excellent addition to other dishes, providing bulk and a satisfying roasted flavor to everything from lentil tacos to farro salads.
Unlocking Crispy Perfection: Essential Prep & Techniques
Achieving truly crispy roasted cauliflower isn't complicated, but it does require attention to a few critical details. These techniques are what separate a good roasted cauliflower from an absolutely unforgettable one:
1. The Art of the Cut: Maximizing Caramelization
- Start with a Flat Base: Begin by slicing off the stem end of the cauliflower head to create a stable, flat base. This makes it much easier and safer to cut.
- Quarter and Core: Turn the cauliflower dome-side up on your cutting board. Slice downward to cut it into four even wedges. From each wedge, carefully slice off just the inner core areas, as these can be tough and fibrous.
- Bite-Sized Florets with Flat Edges: The secret to maximum crispiness is to ensure as many florets as possible have at least one flat surface that can lie flush against the baking sheet. Cut across each quarter to make slices roughly 1/2-inch wide. Pull apart any florets that are stuck together. These flat sides are where the magic of caramelization happens, developing that coveted golden-brown crispness and intense flavor.
2. Give it Breathing Room: The Enemy of Steam
This is perhaps the most crucial tip for crispy results. Like all vegetables, cauliflower releases moisture as it cooks. If the florets are too crowded on the baking sheet, that moisture turns into steam, effectively steaming your cauliflower instead of roasting it. Steamed cauliflower is soft, not crispy. Therefore:
- Single Layer is Key: Arrange the florets in a single layer on your baking sheet, ensuring there's space between each piece.
- Don't Overcrowd: If you have a large head of cauliflower, it is far better to use two baking sheets, arranged on separate racks near the middle of the oven, than to cram everything onto one pan. More space equals more crisp.
3. High Heat is Your Friend: The Right Temperature
For crispy, golden edges, you need sufficient heat. A temperature that's too low will lead to soft, pale florets, while one that's too high might burn the oil before the cauliflower is cooked through. We recommend a sweet spot:
- Optimal Oven Temperature: Preheat your oven to a robust 425 degrees Fahrenheit (220 degrees Celsius). This temperature is high enough to encourage rapid caramelization and crisping without burning the olive oil, which can impart an unpleasant taste and smell.
4. Flip for Even Goldness: Don't Stop Too Soon!
Patience and intervention are rewarded. To ensure every side gets a chance to caramelize and turn golden, you must:
- Flip Halfway: About halfway through the baking process, use a spatula to flip over all the cauliflower pieces. This exposes new surfaces to the hot pan and direct oven heat, promoting even browning and crispiness all around.
- Cook Until Deep Golden: Don't pull the cauliflower out of the oven too soon! Many beginners stop when the cauliflower is merely tender. True crispy perfection comes when the edges are deeply golden brown, with some pieces showing lovely dark, caramelized spots. This is where the flavor truly intensifies. Resist the urge to undercook; those browned bits are pure flavor!
Step-by-Step Guide to Perfectly Roasted Cauliflower
Armed with the techniques above, let's walk through a simple, foolproof recipe:
Ingredients:
- 1 large head of fresh cauliflower
- 2-3 tablespoons olive oil (extra virgin recommended)
- 1/2 teaspoon sea salt, or to taste
- 1/4 teaspoon freshly ground black pepper, or to taste
- 2-3 cloves garlic, minced (optional)
- 1-2 tablespoons fresh lemon juice (optional, for finishing)
- 1/4 cup grated Parmesan cheese (optional, for finishing)
Instructions:
- Preheat Oven & Prep Pan: Preheat your oven to 425°F (220°C). If using two baking sheets, arrange them on separate racks in the middle of the oven. Line your baking sheets with parchment paper for easy cleanup (and to help prevent sticking, though it's not strictly necessary if seasoned well).
- Prepare the Cauliflower: Wash and thoroughly dry the cauliflower head. Follow the cutting instructions above: slice off the stem, quarter, remove the tough core, and then cut into 1/2-inch wide, bite-sized florets with flat edges.
- Season Generously: In a large bowl, combine the cauliflower florets, olive oil, salt, and pepper. If using, add the minced garlic. Toss everything together really well, ensuring every piece is lightly coated with oil and seasoning. Don't be shy with the oil; it's crucial for crisping and flavor absorption.
- Arrange on Baking Sheets: Spread the seasoned cauliflower in a single layer on your prepared baking sheets, ensuring ample space between florets. If necessary, use a second sheet.
- Roast: Place the baking sheets in the preheated oven. Roast for 15-20 minutes, then remove the sheets, flip all the cauliflower pieces with a spatula, and return to the oven.
- Finish Roasting: Continue roasting for another 10-20 minutes, or until the cauliflower is deeply golden brown, tender on the inside, and crispy on the edges. The total cooking time will vary depending on your oven and the size of your florets.
- Final Touches (Optional): Once roasted to perfection, remove from the oven. Drizzle with fresh lemon juice and sprinkle with grated Parmesan cheese while still warm. Toss gently to combine.
- Serve: Serve immediately, warm or at room temperature. Enjoy your perfectly crispy, flavorful roasted cauliflower!
Beyond the Basics: Flavor Inspirations & Serving Ideas
While a simple salt, pepper, and olive oil seasoning makes for a delicious snack, the "blank canvas" nature of roasted cauliflower invites culinary creativity. Once you've mastered the basic technique, the possibilities for flavor combinations are endless. You can explore exciting global flavors, like the vibrant spice blends found in Roasted Cauliflower: 4 Delicious Global Flavor Variations, which might include Italian-inspired herbs, smoky Mexican spices, or aromatic Indian curries.
Consider these additional flavor boosts:
- Herbs: Fresh rosemary, thyme, oregano, or chopped parsley added during the last few minutes of roasting, or as a garnish.
- Spices: Cumin, coriander, smoked paprika, chili powder, turmeric, or a touch of cayenne for heat. Toss these with the cauliflower and oil before roasting.
- Acid & Brightness: A splash of apple cider vinegar, balsamic glaze, or a squeeze of fresh lime juice after roasting can cut through the richness and add a zesty finish.
- Sweet & Savory: A drizzle of maple syrup or honey during the last few minutes of roasting can enhance the natural sweetness and create a lovely glaze.
- Cheeses: Beyond Parmesan, try a sprinkle of crumbled feta, goat cheese, or nutritional yeast for a cheesy, savory kick.
As for serving, don't limit your imagination:
- Classic Side: A perfect accompaniment to almost any main course, from grilled fish to steak.
- Healthy Snack: So addictive, you'll reach for it over chips!
- Vegetable Bowl Base: Build a nutritious bowl with grains, protein, and your flavorful roasted cauliflower.
- Salad Booster: Add it warm or cold to a hearty grain salad or leafy green salad for texture and flavor.
- Antipasto Platter: A wonderful addition to any spread of roasted vegetables, cured meats, and cheeses.
- Tacos & Wraps: Use it as a hearty, flavorful filling for vegetarian tacos, burritos, or wraps.
Troubleshooting & Expert Tips for Your Best Roasted Cauliflower
Even with the best intentions, things can sometimes go awry. Here’s how to troubleshoot common issues and elevate your roasted cauliflower game:
- Cauliflower is soft/steamed, not crispy:
- Solution: You likely overcrowded the pan. Always ensure plenty of space between florets. Next time, use two baking sheets if needed. Also, make sure your oven temperature is truly at 425°F; some ovens run cooler.
- Cauliflower is bland/lacking flavor:
- Solution: Don't be afraid to season generously! Cauliflower can take a good amount of salt and pepper. Also, ensure you're using enough olive oil to coat every piece. Experiment with different spices and herbs as mentioned above to find your favorite flavor profile.
- Cauliflower is burning too quickly:
- Solution: Your oven might run hot, or your florets might be too small. Try lowering the temperature slightly to 400°F (200°C) or moving the baking sheet to a lower rack in the oven. Also, ensure you're flipping halfway through to prevent one side from over-browning.
- Advanced Tip: Pre-soak for brighter color: For an even brighter white cauliflower with a slightly improved texture, you can pre-soak the florets in a bowl of ice water for 15-30 minutes before roasting. Just be sure to dry them thoroughly before tossing with oil and seasoning.
- Don't Forget the Stir: While flipping halfway is essential, giving the cauliflower a quick stir a couple of times throughout the cooking process can also help ensure even browning and prevent sticking.
Mastering crispy roasted cauliflower is a simple yet incredibly rewarding culinary skill. It transforms a humble vegetable into a crowd-plepleasing, versatile dish that can fit seamlessly into nearly any meal or occasion. With its satisfying crunch, tender interior, and sweet, caramelized notes, it’s a healthy and delicious way to enjoy vegetables. So, grab a head of cauliflower, follow these easy steps and expert tips, and prepare to elevate your everyday cooking to extraordinary heights.
